Here are the supplies you'll need for this wreath. One 14 inch wire wreath which you can get at Pat Catans, 2 boxes of 100 ct LED lights. You can pick out your own light types... but these ones are the coolest.
Here are two cute photo bombers who wouldn't look at the camera.
 |
Bella Dog
|
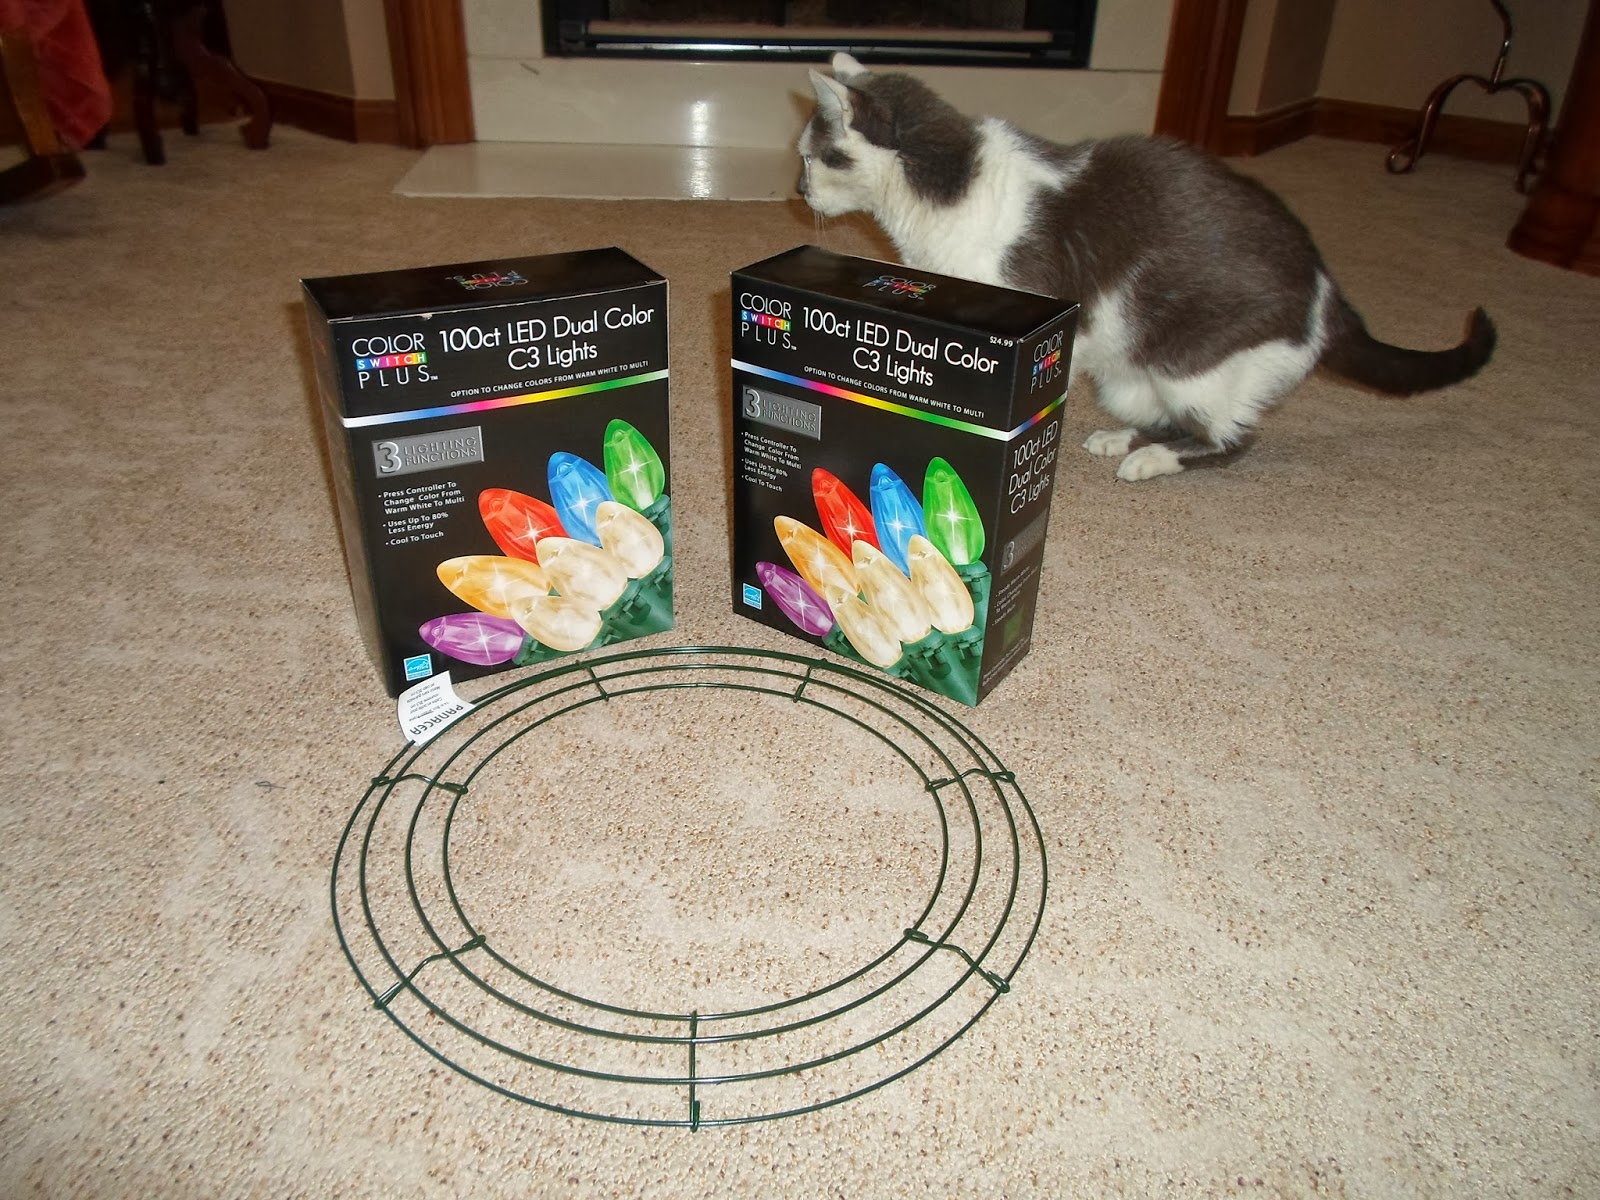 |
| Abby Cat |
This should be a given, but make sure to test the lights. I bought these lights at Kmart on clearance just after Christmas. I'm kind of bummed because I didn't realize they were smaller than the ones I used in the original wreath I made that got a lot of feed back, but it turns out pretty cute anyway.
 |
| Yay! They work! |
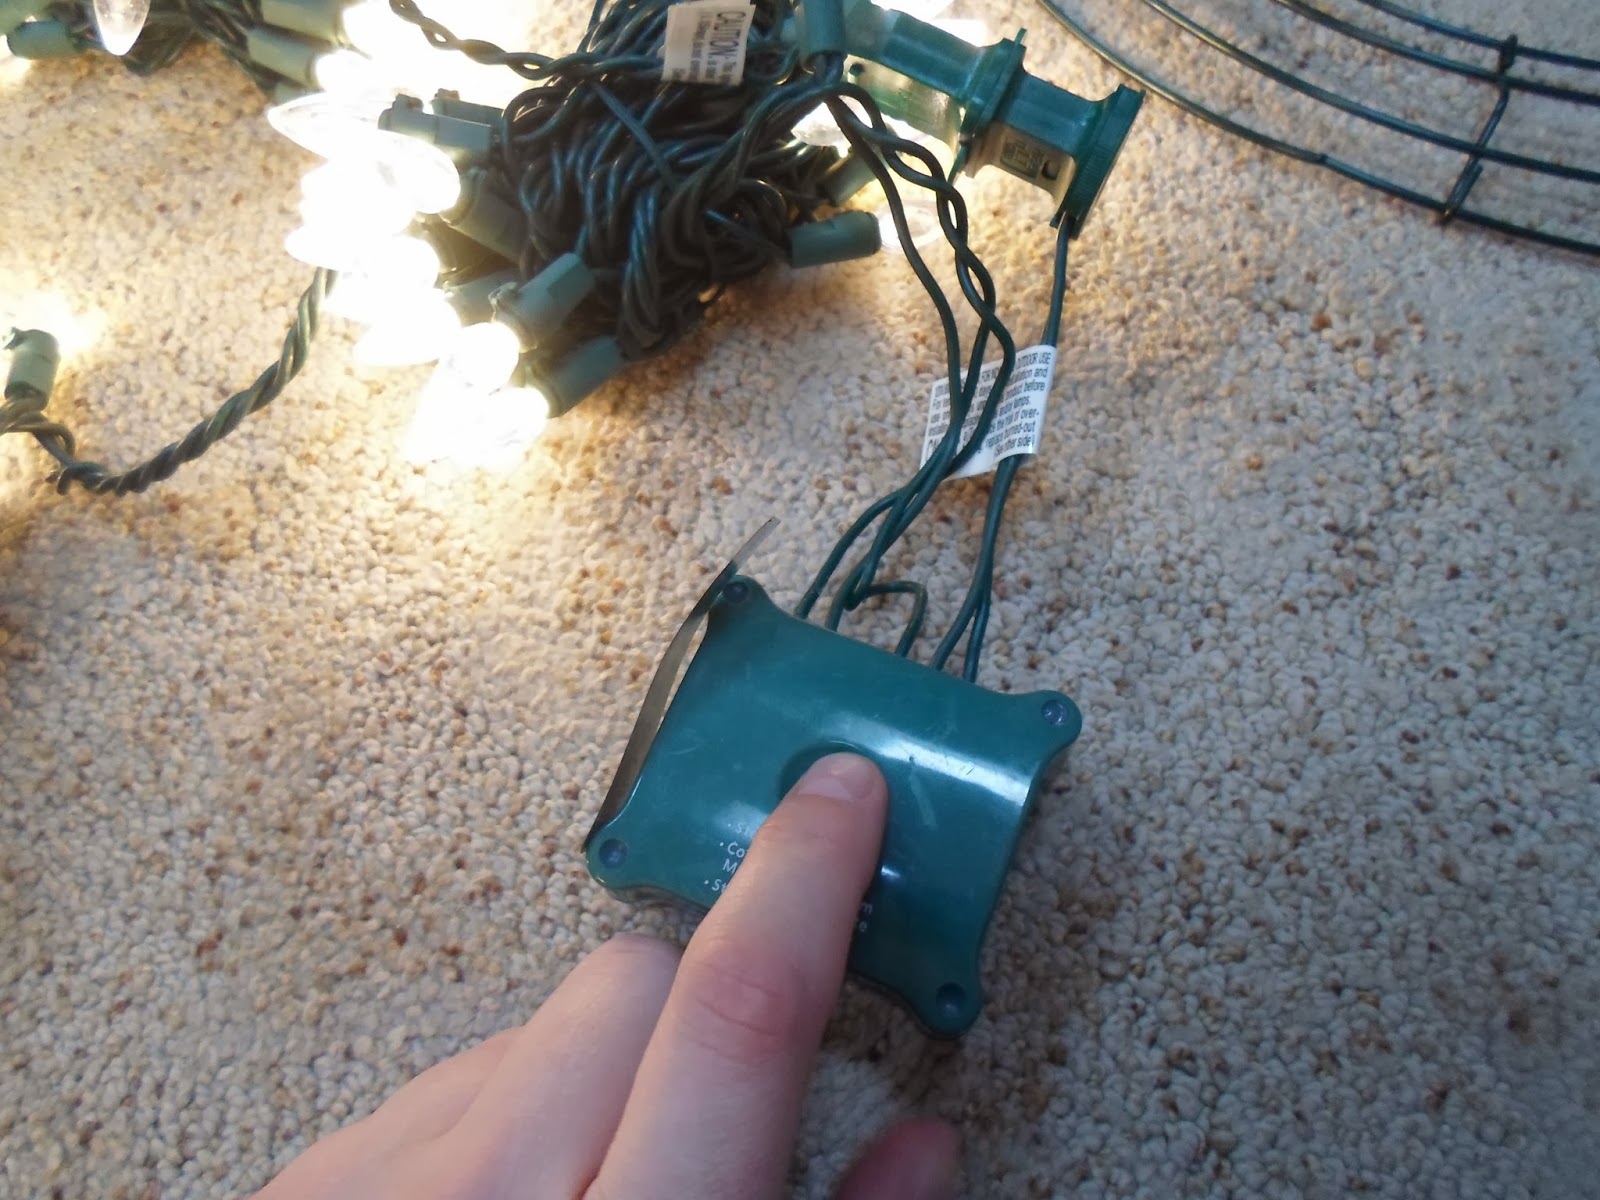 |
| Magic button control thingy |
 |
Press the button to change white lights to colored lights or make them alternate.
|
I really love white lights. That's just me. But I know a lot of people prefer colored lights. My grandma had a white Christmas tree with red shiny bulbs on it, and I have carried on that tradition. And white lights on a white Christmas tree are blinding and they make all your ornaments POP. haha.
But, I know that some people are really into retro-color Christmas lights. I see the appeal, I do. I have a friend at work that had to replace her Christmas tree and was arguing with her husband because she really wanted giant lights on the tree, but he hates them, etc. It's so funny how we all have such strong opinions about Christmas tree lights and colors of the tree, and everything. When I was younger and still living in my childhood home, my parents had what I refer too as the "Annual Christmas tree fight". It was always the fight about WHERE they'd put the tree in the house. Mom always wanted it in front of the picture window and dad always wanted it in the corner. Mom usually won. Anyway, the first version of this wreath had slightly larger light bulbs on it, but this still looks really great, and it's very versatile thanks to the Magic Button Control thingy that's above. This button changes the color of the lights from white to color, and if you press the button a 2nd time, it makes the lights blink from white to off white to color to white again.
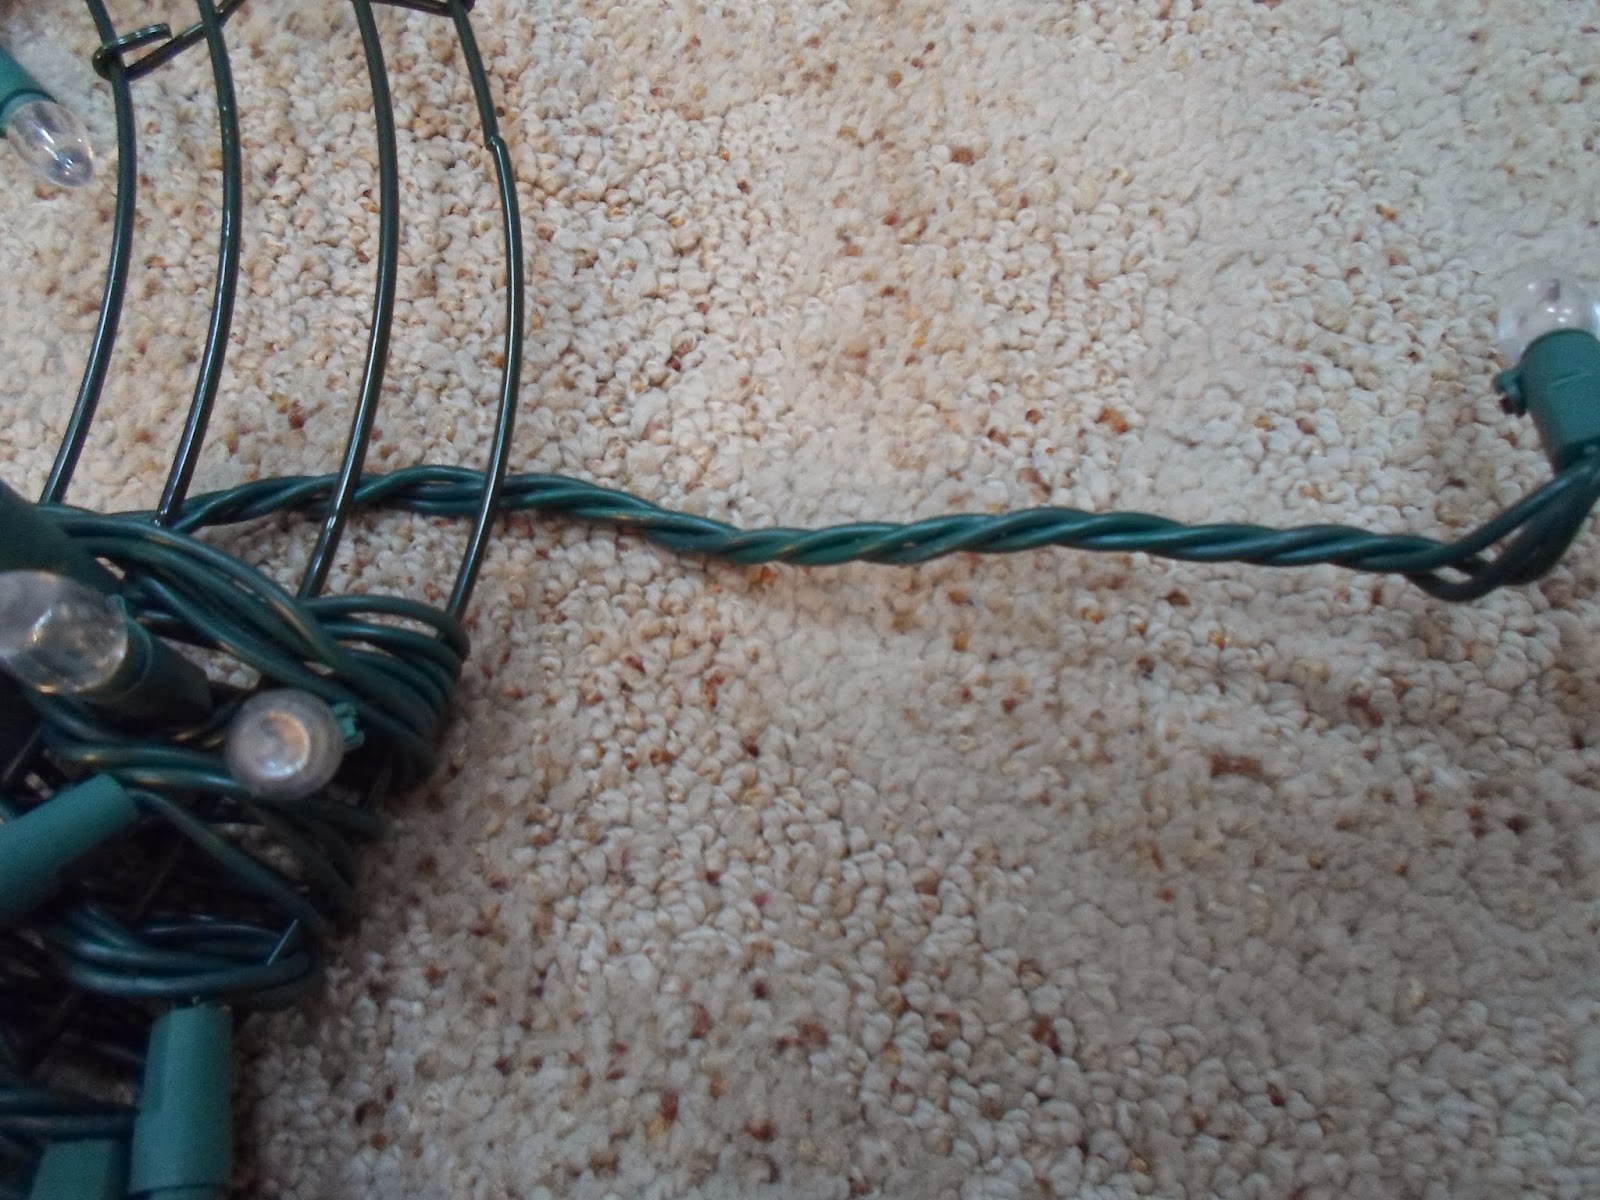
So you can kind of see from the light test picture, that the lights are twist tied into little bundles. It's easier to work with if you leave the bundles you aren't currently manipulating bundled together, so you don't get the lights all tangled up. I started by forcing the female side of the plug through the edge of the wire wreath.
The edge of the wreath is more pliable, so you can pull it apart a little and force the edge of this through. You could probably attach it another way, like just use one of the twist ties that hold the lights together to hold it in place... but this is how I did it.
So just start wrapping the wire around the wire wreath. Pretty simple, but you have to manipulate the light bulbs up so that they're all pointed up/outward.
Sometimes, you'll want to poke the light bulb up from underneath as the wire is circling under the wire wreath. You can kind of see this on the picture above. The 2nd bulb at the top from the right side is poking up underneath between the wreath wire. Sometimes, I part the wire on the lights to help hold that particular bulb in place.
 |
So the back will start to look like this.
|
 |
| Weird. |
So, between the twisty tie piles of lights, for some reason they give you this part with like 3-4 inches of lighting wire without bulbs on it. How annoying. You have a choice. You can either wrap it around and then insert bulbs later, or you can use the twisty ties that come on the lights and use the twist tie to hold that bit into place on the back of the wreath.
And here's the twisty thing.These are handy because they're the same color as the wreath frame AND the light cords, so why bother throwing them away? You can also cut them with sharp scissors, so again, good for tying over that long piece that makes no sense. But make sure to leave two of the twist ties their original length because when you're done, you're going to put the magic button control thing on the back of the wreath with them.
The completed back should look like this. When you reach the halfway points, start with the female part again in the same places as the other female part. Use one of the twist ties to hold those into place on the back of the wreath. You can kind of see it on the far side of this picture. Use the longer twist ties and affix the magic button control things in place with the plugs together between them.
 |
| "I hope it turns out, Mom." |
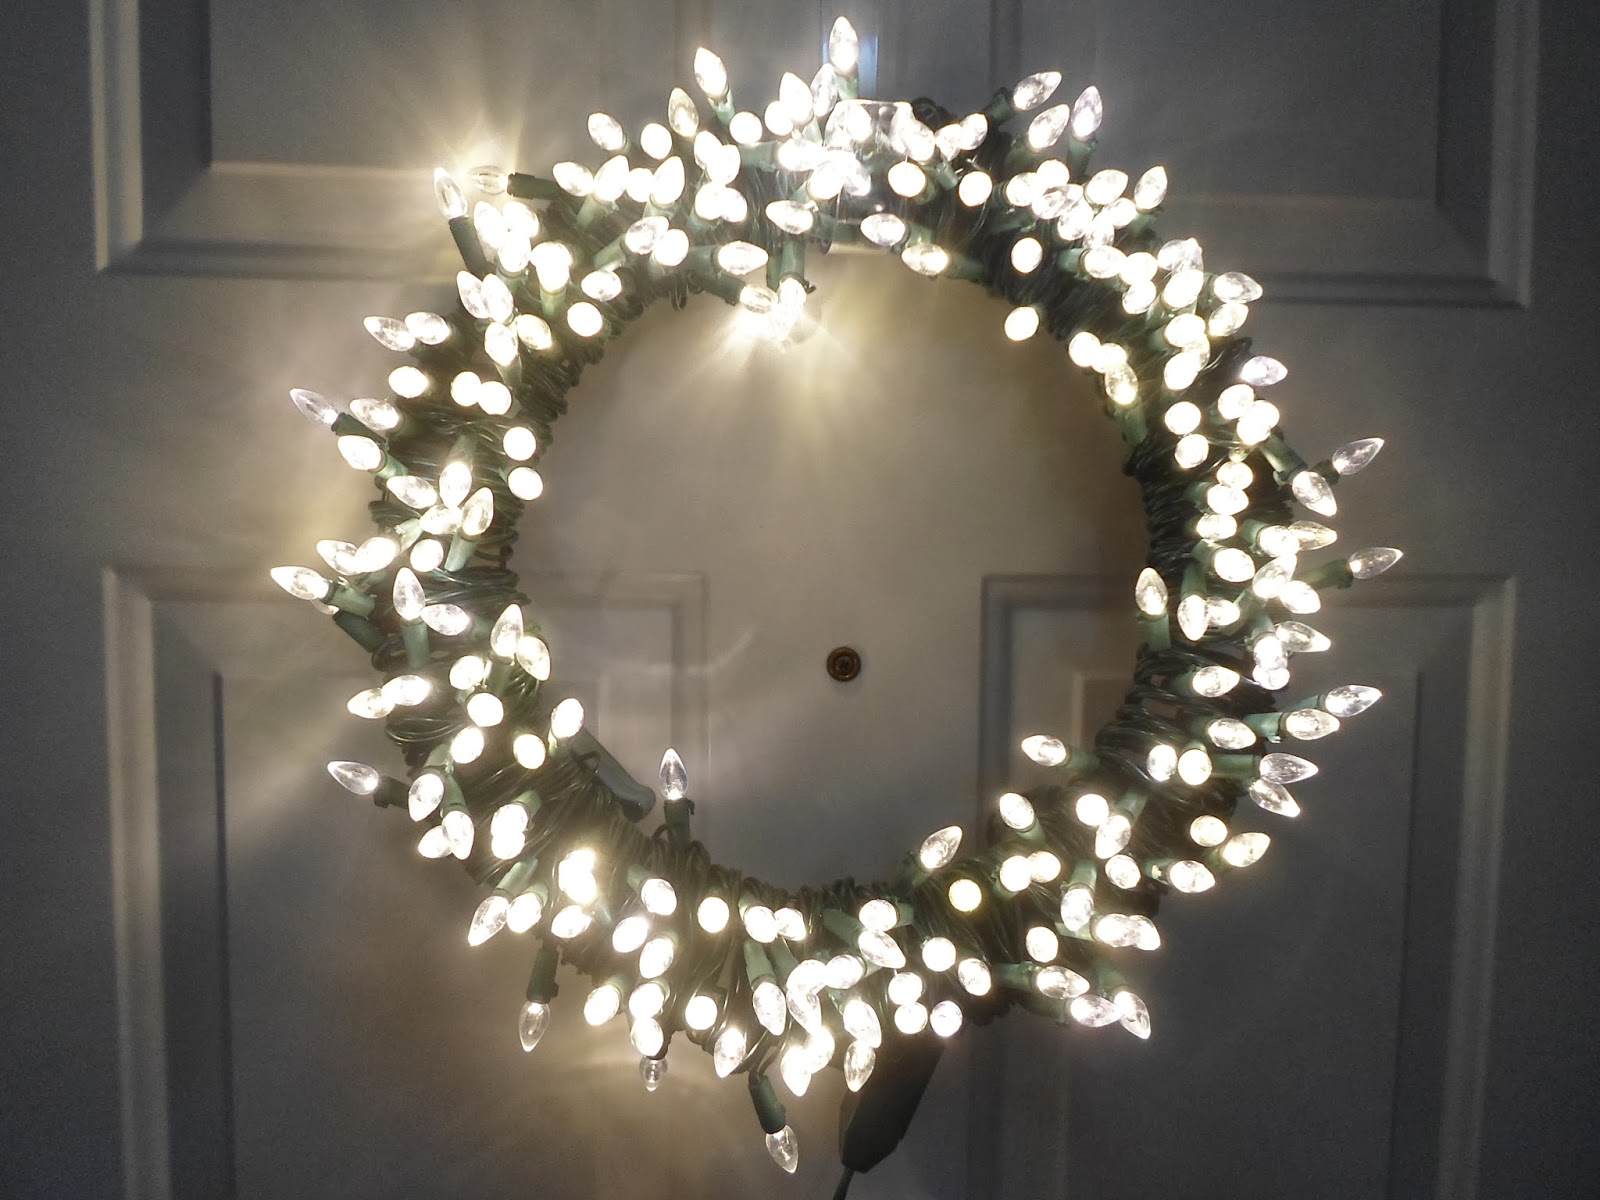 |
White lights.
|
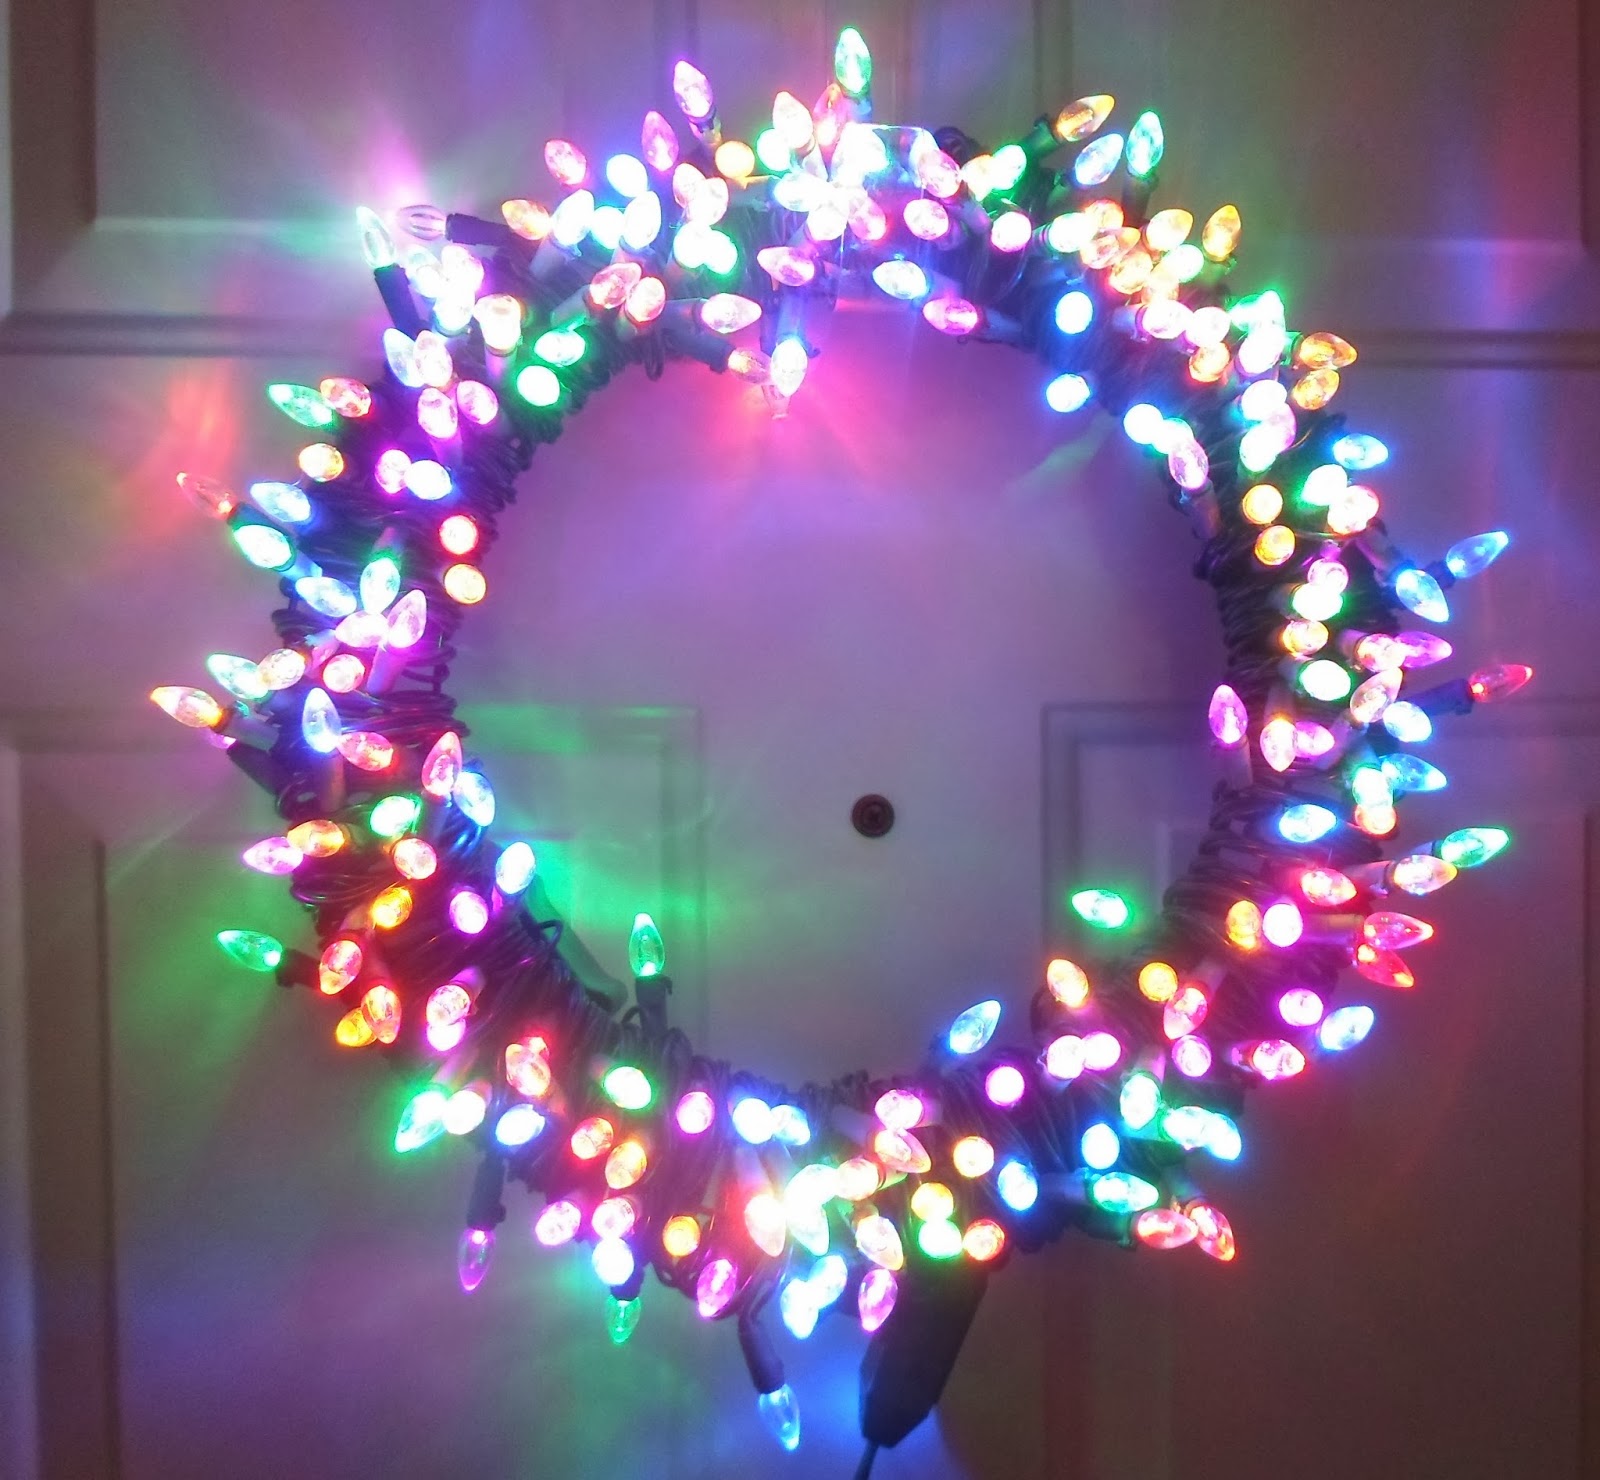 |
Colored lights
So, that's it. My only complaint is that you have to have a way to plug it in and there's no real way to hide that. You can see my extension cord right under it.
|


Be sure to re-post this one in November of 2014; it will be a good time of year, as everyone will be starting to think about Christmas decorations.
ReplyDelete